Deutsch
  Français
  Español
  Português
 Medical electrical device for fragmentation of Ovesco clips.


+49 (0) 7071 96528 160
service@ovesco.com
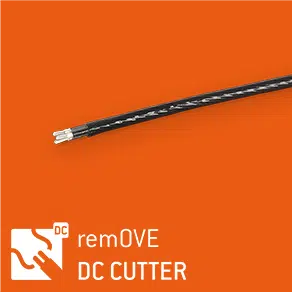
The remOVE DC Impulse is a medical electrical device which allows the fragmentation of OTSC® and FTRD® clips in the digestive tract when used in combination with a remOVE DC Cutter Set.
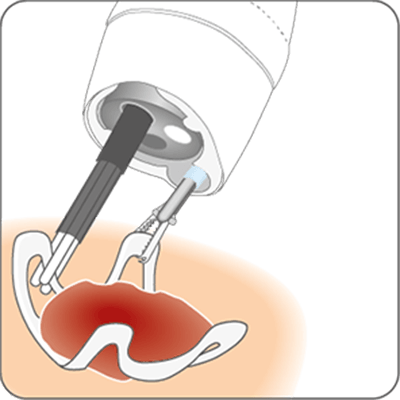
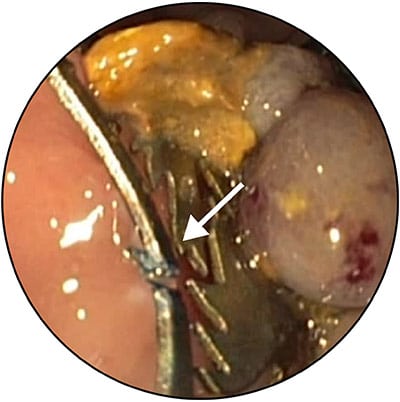
The remOVE DC Impulse generates a bipolar current pulse. This DC pulse is applied onto the OTSC®/FTRD® clip via the DC Cutter instrument resulting in localized melting and cutting of the clip. The clip is grasped with the DC Cutter instrument preferably at the thinnest parts.
The remOVE DC Impulse is designed to ensure that a direct pulse can only be generated when sufficient contact with a segment of the clip is established. Sufficient contact is indicated through an acoustic signal.
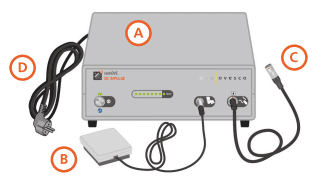
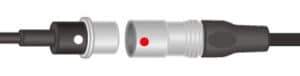
A) Generator
B) Foot-activated switch with connector cable
C) DC cord in order to connect the remOVE DC Cutter
D) Power cord
| Initial charging | ca. 10 min |
| One-time duration of the impulse during activation | max. 65 ms |
| Interval between activations | ≥ 6 s |
| Items per package | 1 |
| Reference number | 400.01 |

Successful completion of charging cycle is indicated through three short acoustic signals in quick succession. The status display indicates operational readiness through emitting constant green light from all eight LEDs.

As soon as all eight green LEDs are constantly on, the remOVE DC Impulse is ready for use.
Step 1: Introduce the remOVE DC Cutter through working channel and establish contact with the clip. When a continuous acoustic signal occurs, press the foot-activated switch once in order to cut the clip. Repeat the procedure at a point of the clip opposite of the first cut.
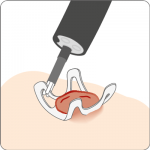
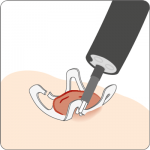
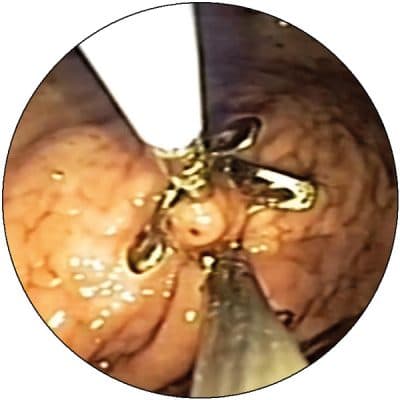
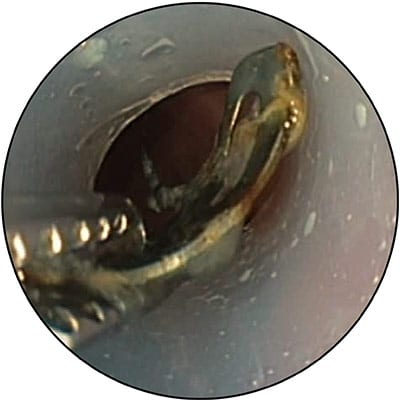
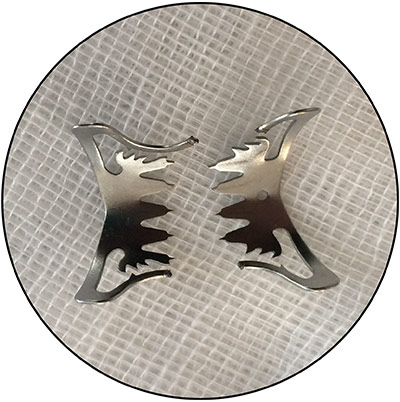
Step 2: Make sure by endoscopic visualization that fragmentation of the clip at two spots has been successfully accomplished.
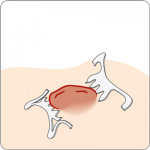
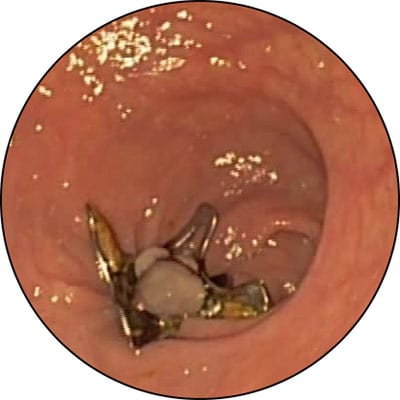
Step 3: Mount the remOVE SecureCap onto the endoscope tip. Use the remOVE Grasper to pull the clip fragments into the remOVE SecureCap and remove it from the patient’s body.
Important notes:
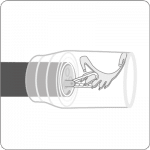
Before application the endoscope has to be protected using the remOVE Shield.
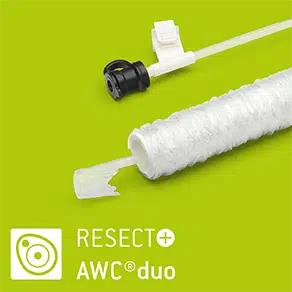
Clip removal with AWC®
* Source: Prof. Dr. Marc O. Schurr, Ovesco Endoscopy AG, Tuebingen, Germany [In-vivo model]
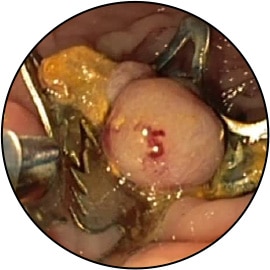
Situation after endoscopic full-thickness resection with the FTRD® System in sigma. Clip removal for monitoring.

* Source: Prof. Dr. K. Caca und Dr. A. Schmidt, Klinikum Ludwigsburg, Dept. of Internal Medicine, Gastroenterology, Hämato-Oncology, Diabetes and Infectous Diseases, Germany